


Why use Freshdesk? #
Flowmatix integrates with Freshdesk to automate customer support and ticket management. By connecting Flowmatix AI-driven chatbot with Freshdesk’s support platform, businesses can instantly resolve customer queries, create and assign tickets, and streamline customer communication. This integration helps reduce response times, improve agent productivity, and enhance the overall customer support experience.
Benefits of using Freshdesk: #
- Instant Query Resolution: Automate responses to common customer inquiries, reducing response times and support ticket volume.
- Efficient Ticket Creation: Automatically generate support tickets from chatbot interactions, streamlining the support workflow.
- 24/7 Support Availability: Provide around-the-clock assistance to customers with automated, intelligent chatbot responses.
- Seamless Agent Handover: Ensure smooth transitions from chatbot to live agents when complex issues arise, enhancing the customer experience.
Step 1 of 4: Login to Flowmatix Account and Select Application to Integrate #
a. Login to your Flowmatix account. Now, select and click the Bot you want to integrate
with Freshdesk CRM. Click on the ‘Integrate tab.’
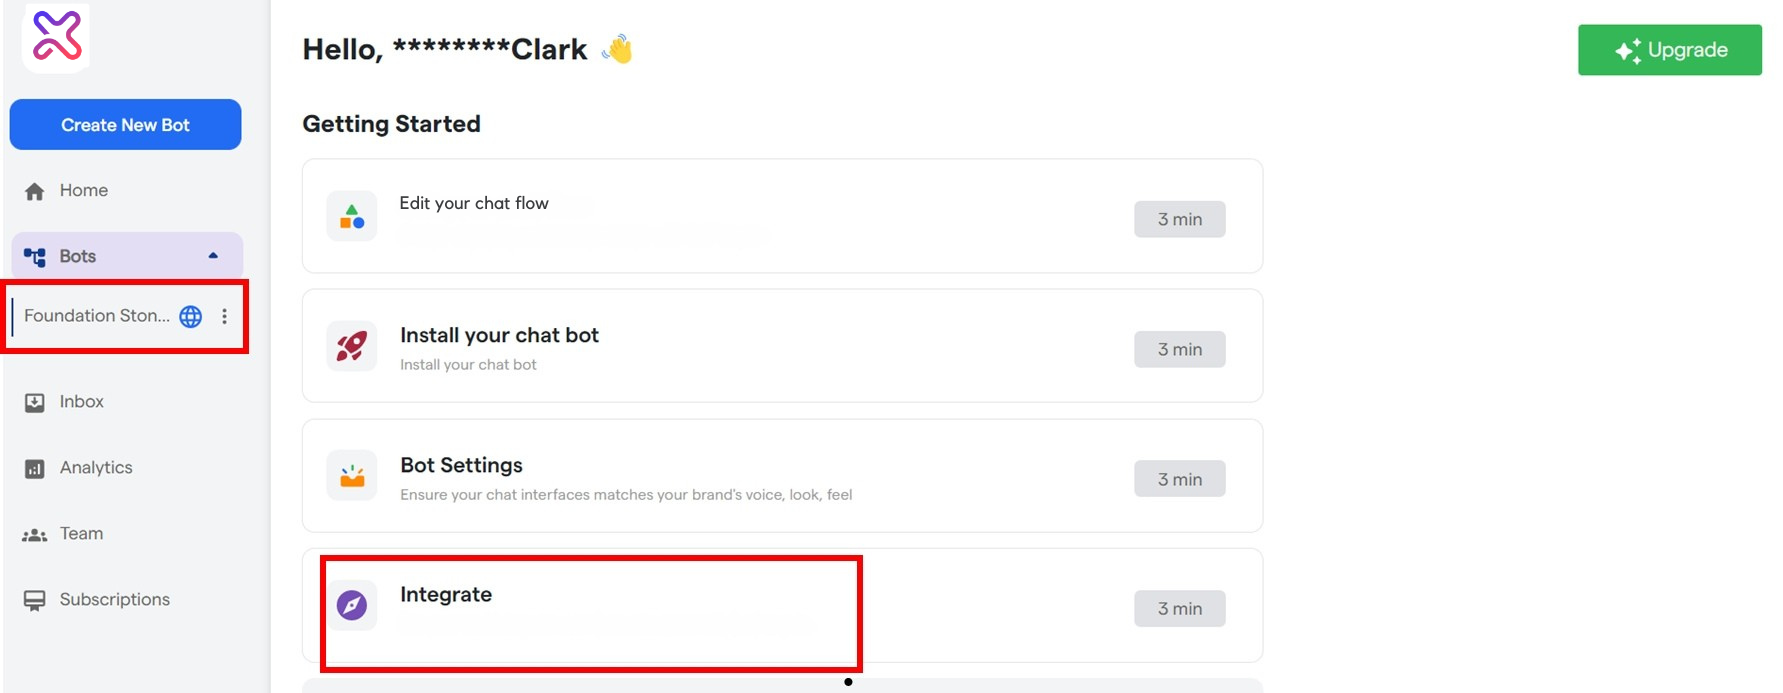
b. The Integrate Window Will Open up. Select the ‘All Integrations’ Tab.
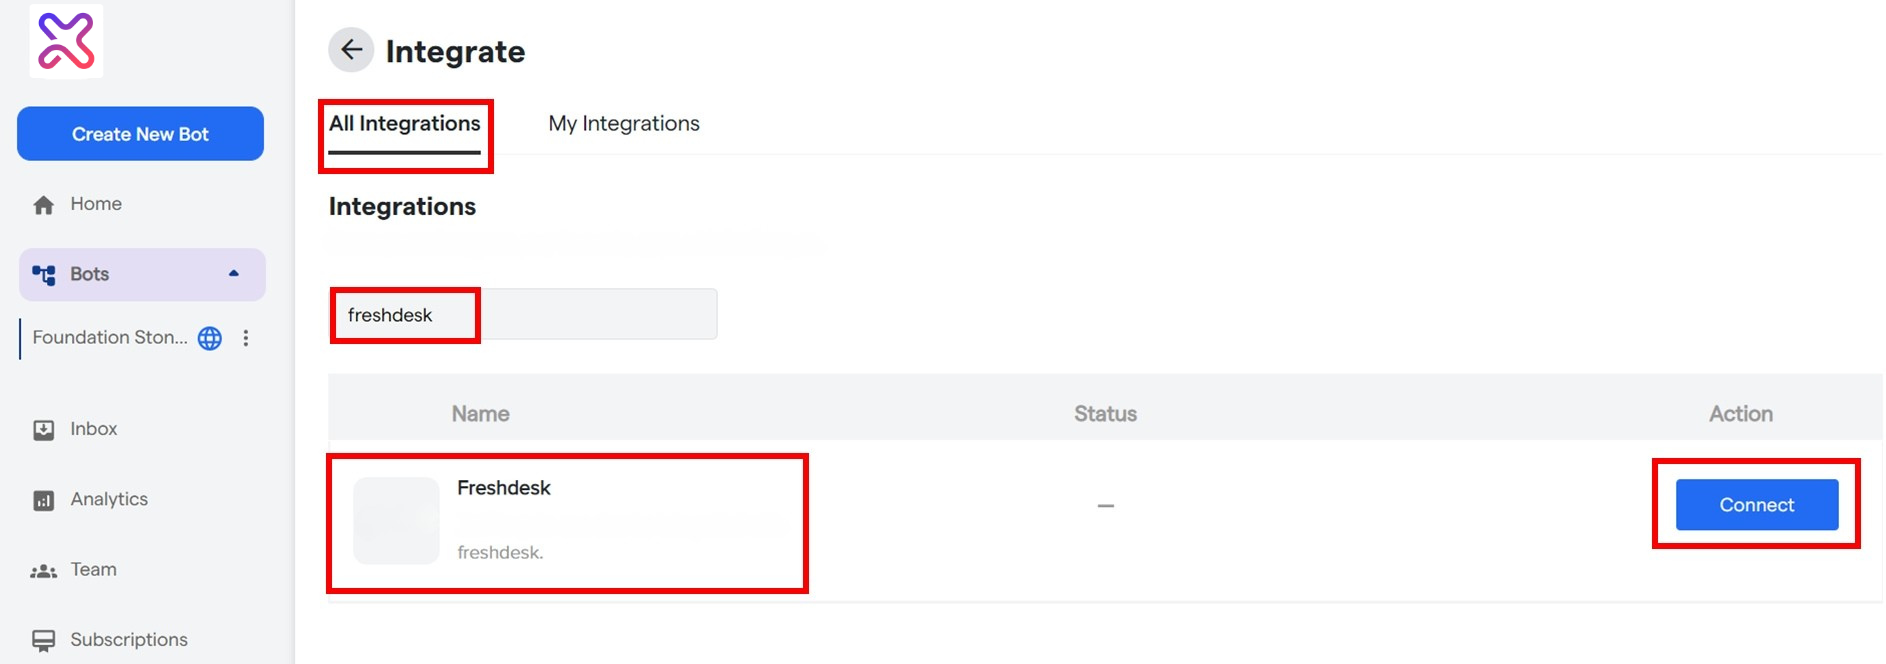
c. A list of all native integrations for Flowmatix will be available in this window.
d. Now find Freshdesk by:-
- Either by scrolling down the list or,
- by typing ‘Freshdesk’ in the Search Box with the placeholder “Search Integration By Name”
e. Now Click On The ‘Connect’ Button As Shown
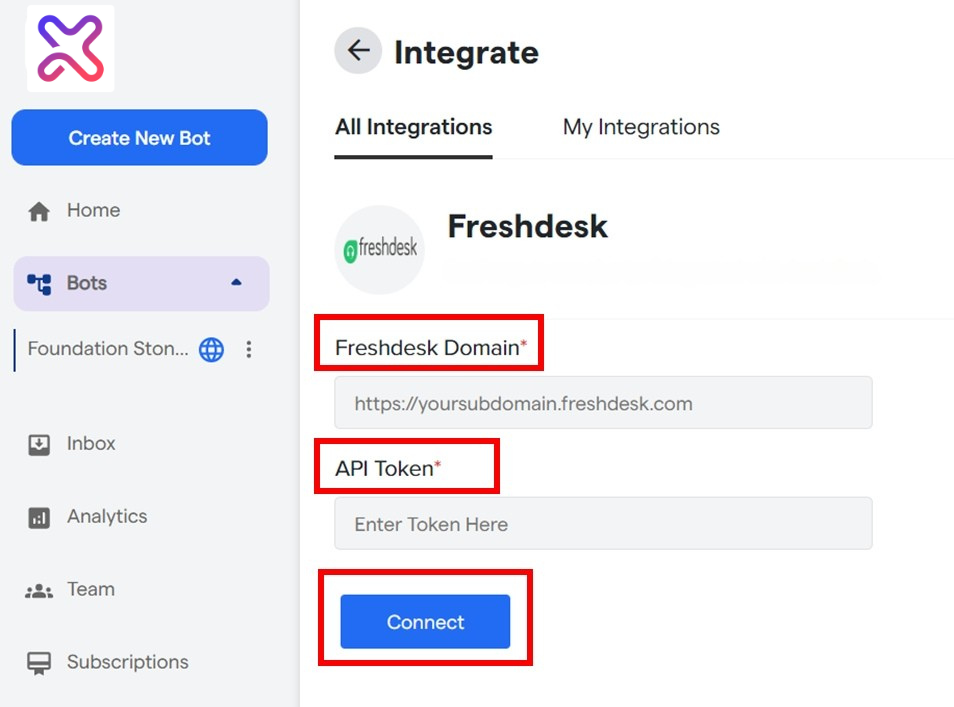
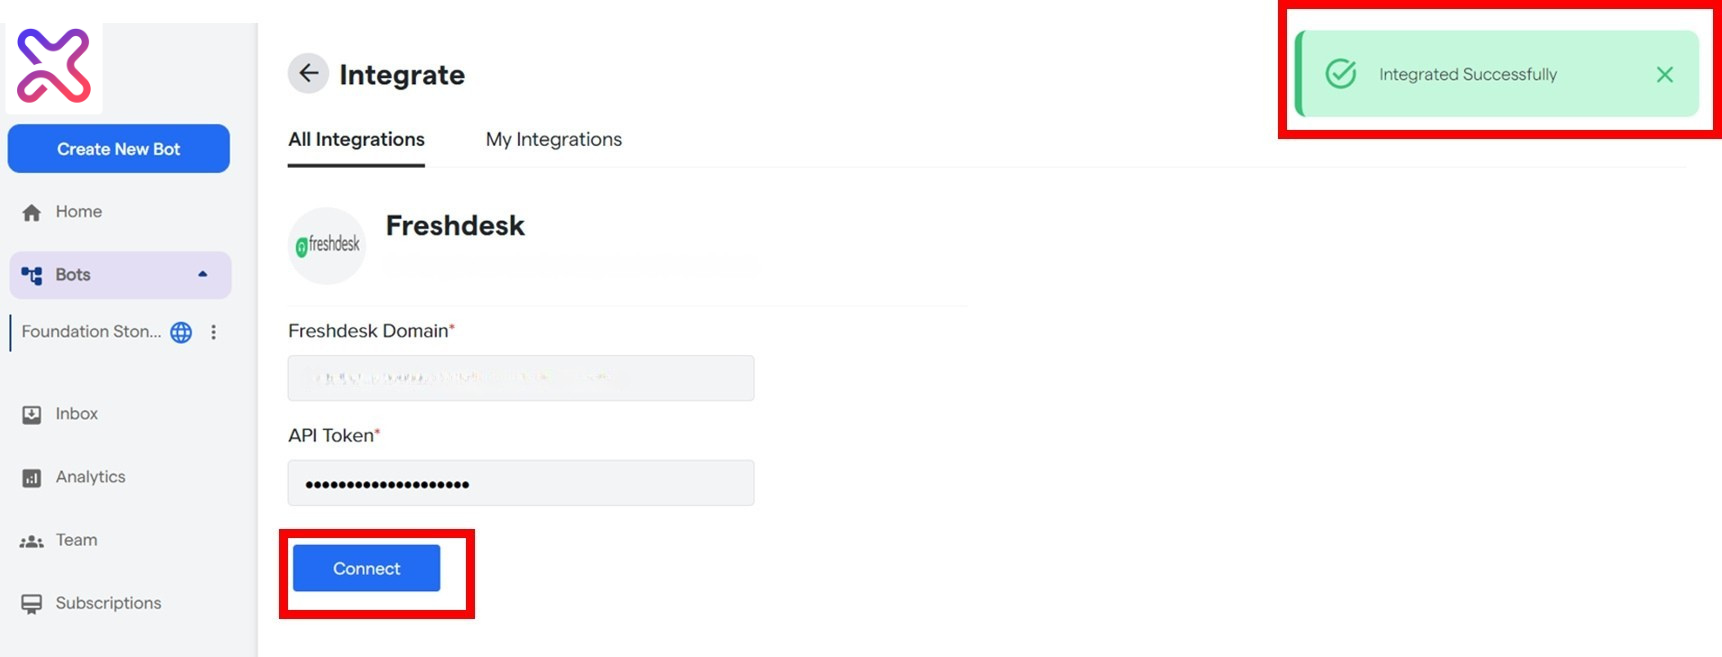
f. An Interface, as shown below, will open up. Here, you will be asked to enter
- Freshdesk Domain
- API Token
that you will get by logging into your Freshdesk account.
Step 2 of 4: Find your Authorization Key/Token in App Account #
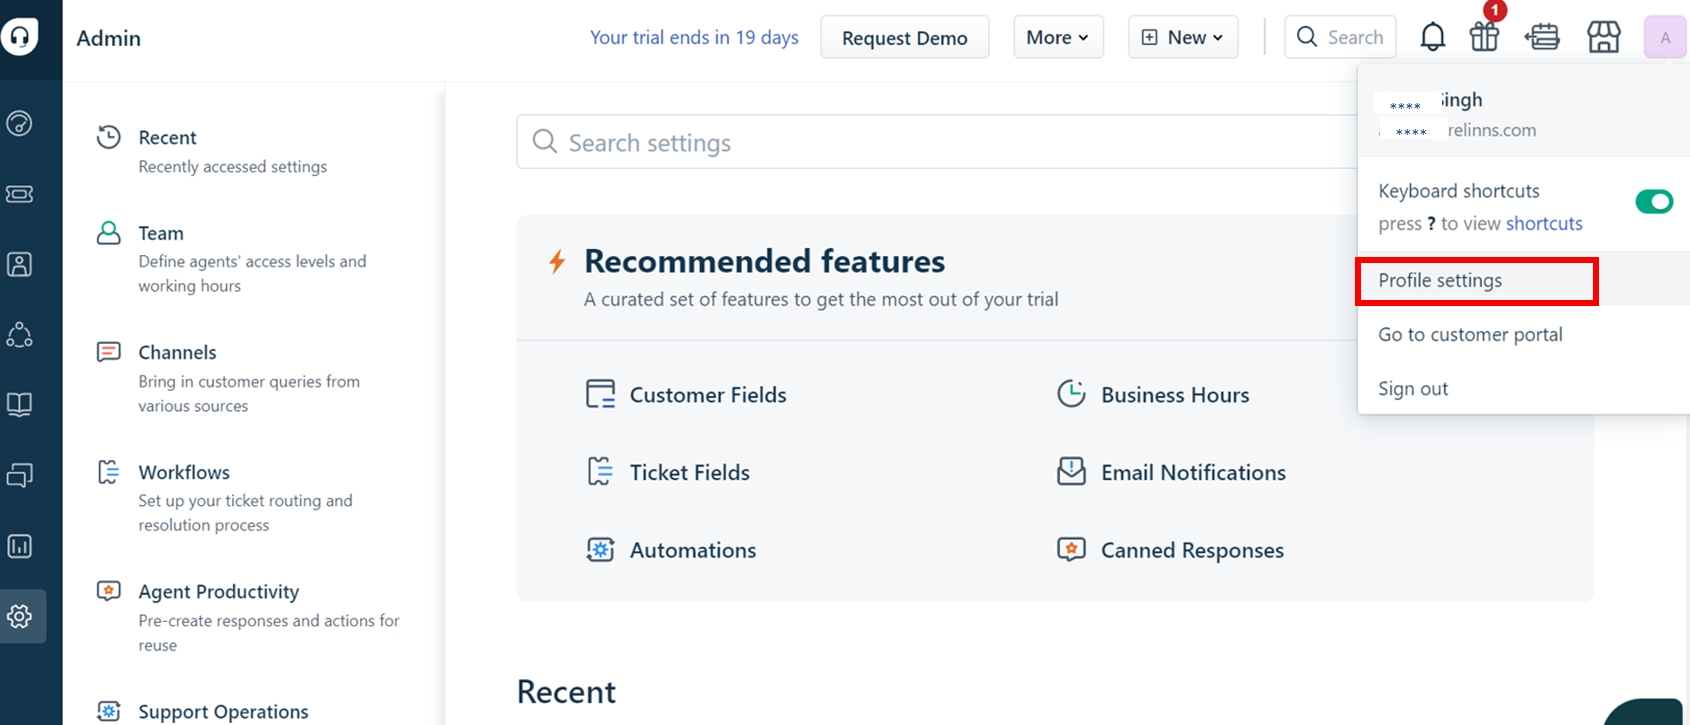
b. To get the API token, login to the Freshdesk account. On the top right corner, Click on
your profile icon and then click on the ‘Profile Settings’ tab.
c. Find ‘Your API Key’ on the top-right corner of My Profile Settings.

Step 3 of 4: Enter Authorization Details and establish connection with your App #
a. Enter Freshdesk Domain and API Key or Token, then click the ‘Connect’ Button to
complete integration of Flowmatix with Freshdesk CRM.
b. If you have entered all the details correctly, you will see a notification that says,
“Integrated Successfully.”
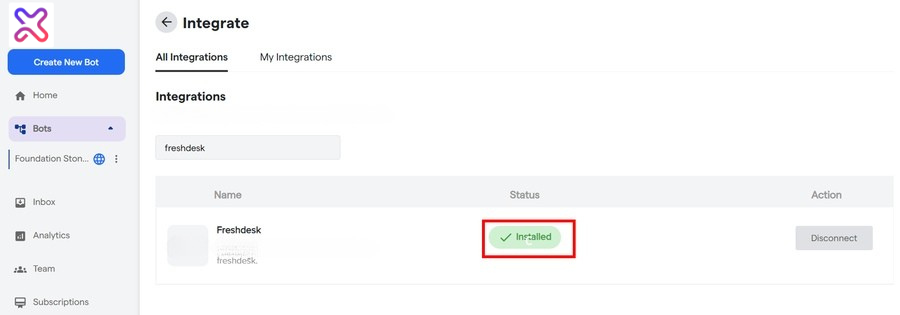
c. Your Freshdesk integration is completed and it will show the message Installed in the
Integration List.
Step 4 of 4: Test your Integration Set up with Data #
Once you have established a connection between Flowmatix and Freshdesk, you are ready to go for your first test lead. You can test your integration setup by creating a dummy lead on the bot. This lead should appear in your Flowmatix dashboard as well as in the Freshdesk you have integrated.
Still Not Working, Let’s Troubleshoot! #
If you are not getting dummy lead from your Bot to Freshdesk, it may be due to the multiple reasons:
- Wrong Authorization Details added- You will be required to check and see if all the authorization credentials such as API Token, API key, and/or URL has been entered correctly.
- Free plan- You are not subscribed to the paid plan on Flowmatix as integration works only in paid plan.
If everything is correct and you are still unable to move forward, write to us at https://flowmatix.ai/contact-us/